Welcome to the world of WordPress, where creating a website is no longer just for techies or web developers. Whether you're launching a personal blog, a business website, or an online store, WordPress offers powerful tools, a supportive community, and flexibility for users at every skill level. This guide will walk you through how to get started with WordPress in a simple, friendly, and practical way.
What Is WordPress?
WordPress is a free, open-source content management system (CMS) that allows you to build and manage a website without needing to write code. As of today, over 40% of all websites on the internet use WordPress. There are two main versions:
- WordPress.org - Self-hosted version, ideal for full control and customization.
- WordPress.com - Hosted version with built-in infrastructure, great for beginners.
This guide is about WordPress.org, the more powerful and flexible option.
Step 1: Choose a Domain Name andd Web Hosting
Before installing WordPress, you need two things.
A Domain Name
Domain name is your website's address (e.g., www.yourname.com). You can buy it from registrars like Namecheap, GoDaddy, or through your chosen hosting provider
A Web Hosting Provider
Hosting is where your website lives on the internet. Popular hosting services for WordPress include
- Bluehost (official WordPress partner)
- SiteGround
- Hostinger
- DreamHost
Most of these offer one-click WordPress installation.
Step 2: Install WordPress
If you're using a WordPress-recommended host like Bluehost or SiteGround, WordPress is either pre-installed or easily set up in one click.
Manual Installation:
- Download WordPress from wordpress.org/download.
- Upload the files to your hosting server using an FTP tool like FileZilla
- Create a MySQL database (via your hosting control panel).
- Visit your domain and follow the on-screen instructions to complete the setup.
Step 3: Log In to Your WordPress Dashboard
Once installed, visit:
https://yourdomain.com/wp-admin
Log in using your username and password. This is your WordPress Dashboard—where all the magic happens.
Step 4: Choose a Theme
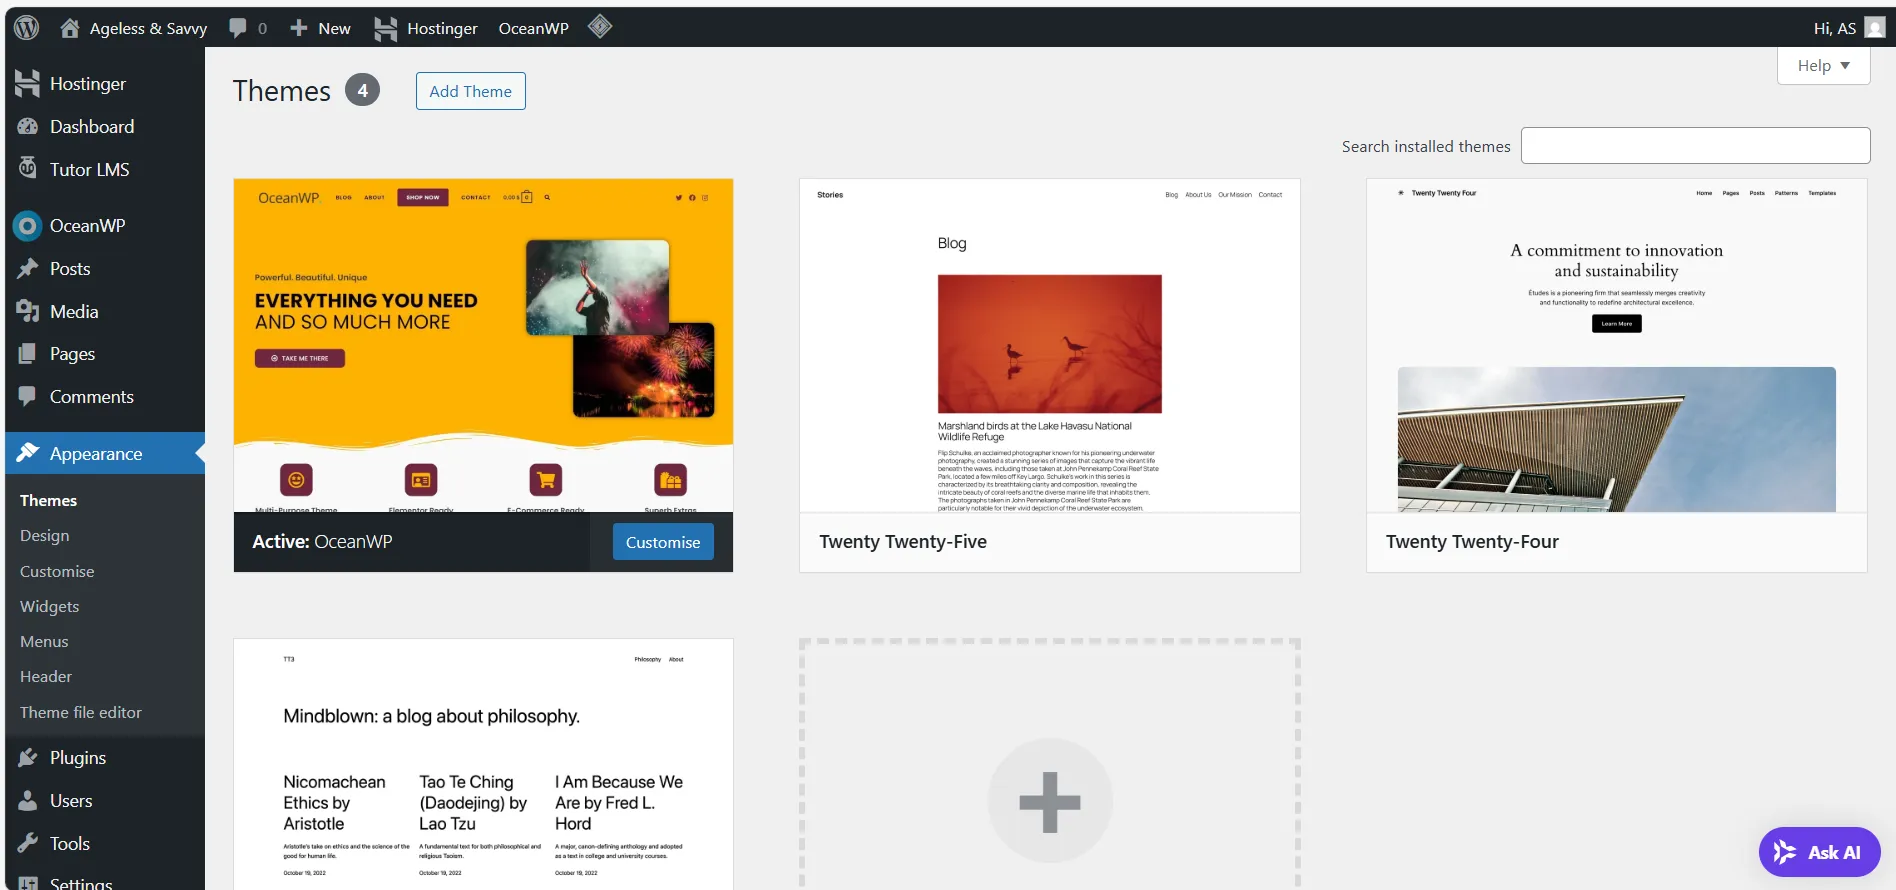
Your theme controls how your site looks and feels.
- Go to Appearance > Themes > Add New.
- Browse free themes or search by keyword.
- Click Install and then Activate
Popular Free Themes:
Step 5: Install Essential Plugins
Plugins extend WordPress functionality - like adding contact forms, SEO tools, and more
Must-Have Plugins:
- Yoast SEO - Optimize content for search engines.
- Jetpack - Offers security, speed, and stats.
- WPForms - Beginner-friendly contact form builder.
- Elementor - Drag-and-drop website builder.
- UpdraftPlus - Backup and restore your site.
- Wordfence Security - Firewall and mallware scanner.
To install:
- Go to Plugins > Add New.
- Search for the plugin.
- Click Install Now, then Activate.
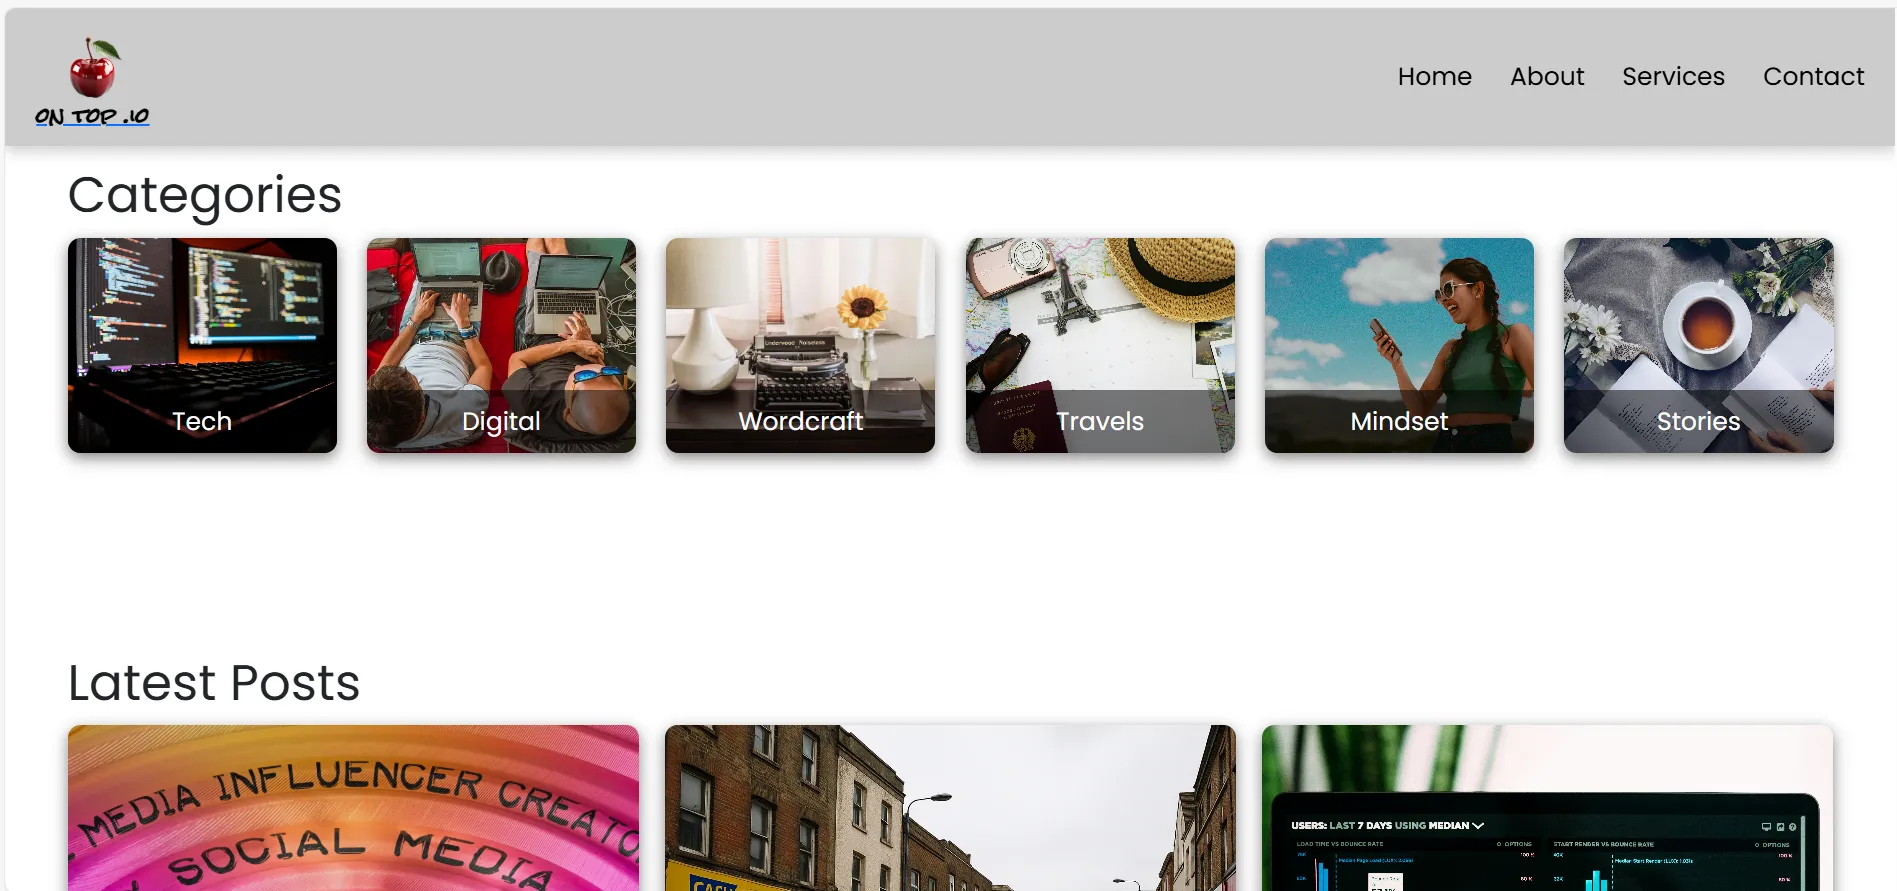
Step 6: Create Your First Pages and Posts
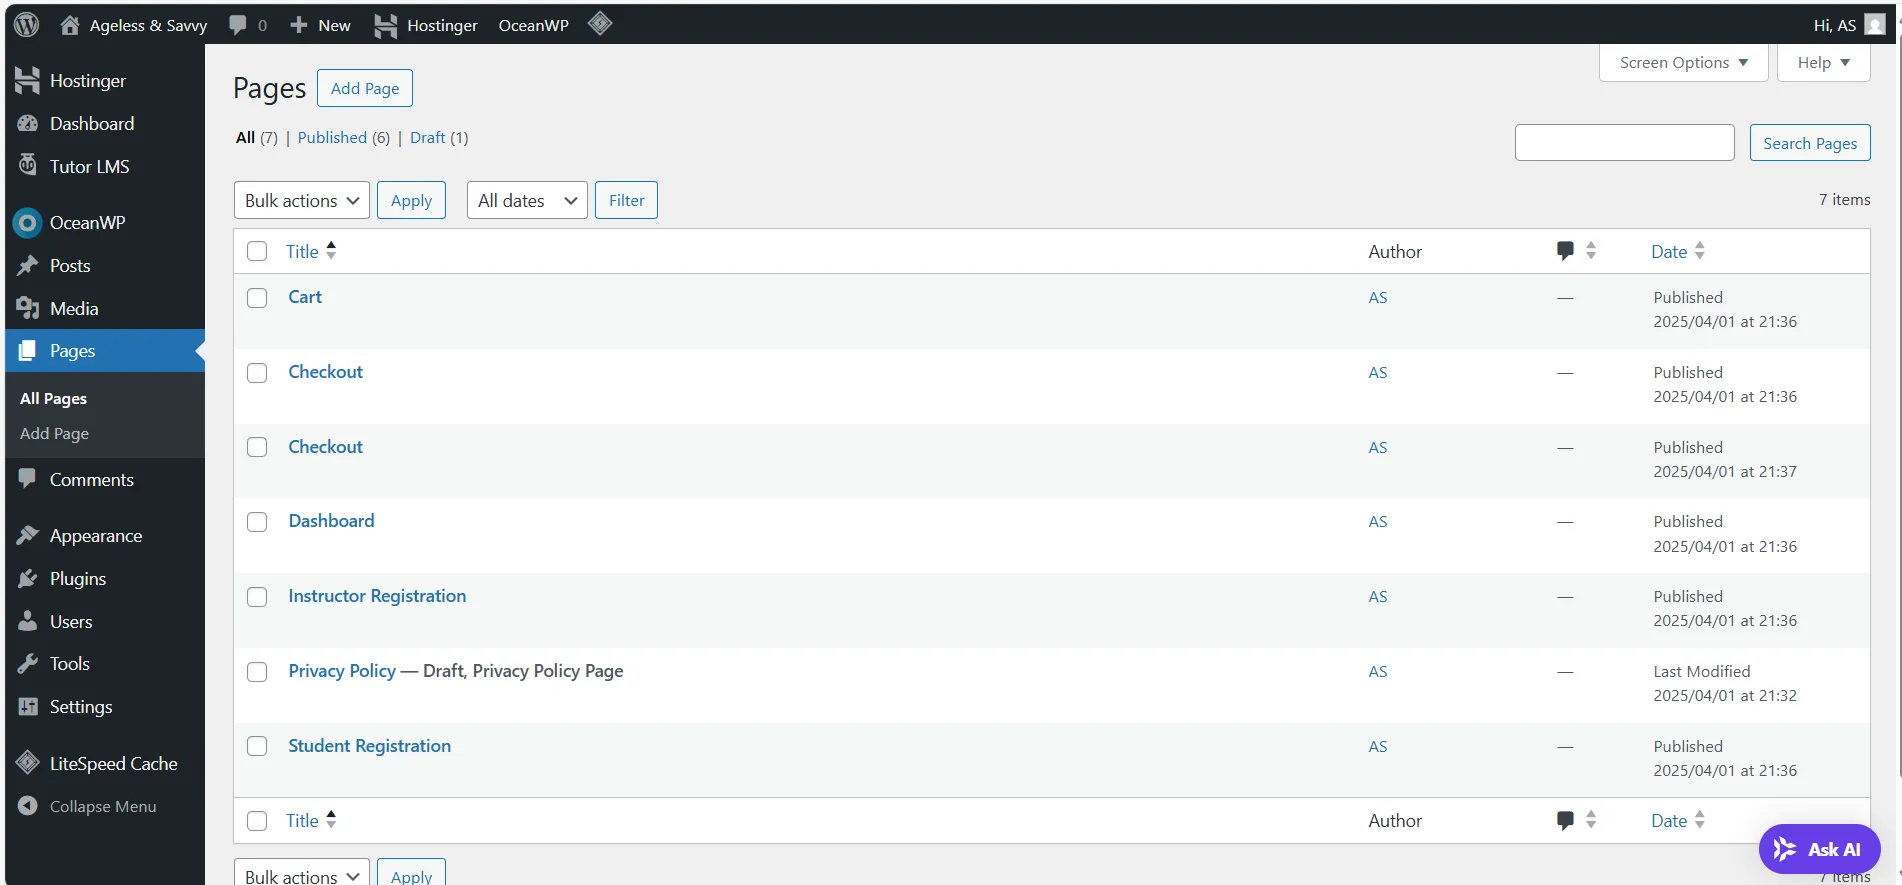
Pages:
For static content like Home, About, Contact.
- Go to Pages > Add New
- Use the block editor to add text, images, etc.
- Click Publish
Posts
For blog content or updates
- Go to Posts > Add New
- Add your content, set categories and tags
- Click Publish
Explore the Gutenberg block editor to create rich content easily using blocks for headings, images, videos, buttons, andd more.
Step 7: Customize Your Site
Go to Appearance > Customize to:
- Upload a logo or site icon (favicon)
- Change fonts, colors, layout
- Set homepage display (latest posts or static page)
- Add widgets
- Manage menus
All changes are previewed live before saving.
Step 8: Configure Basic Settings

Head to Settings and update:
- General: Site title, tagline, email
- Reading: Choose homepage settins
- Permalinks: Select "Post name" for SEO-friendly URLs
- Discussion: Control comments and notifications
Example:
To make your homepage a static page:
- Go to Settings > Reading
- Set "Homepage Displays" to "A static page"
- Select your homepage and blog page
Step 9: Launch Your Website
Before going live:
- Test your site on desktop and mobile
- Check all links and forms
- Proofread your content
- Install Google Site Kit to connect Analytics and Search Console
Bonus Advice: Grow and Manage Your Site
Once your site is live, here's what to focus on next:
Learn More WordPress Skills
- Visit the WordPress Support Forums
- Follow the WordPress Learn portal for tutorials and workshops
Optimize for SEO
- Use Yoast SEO or Rank Math for advanced SEO tools
- Submit your site to Google Search Console
Add eCommerce
- Use WooCommerce to create and online store